Hi All!
Just a quick update here, code and STL’s for my 3D printed hexapod project can now be found on thingiverse:
http://www.thingiverse.com/thing:1814185
And on my github at
https://github.com/c-herring/HeZapod
-Chris
Hi All!
Just a quick update here, code and STL’s for my 3D printed hexapod project can now be found on thingiverse:
http://www.thingiverse.com/thing:1814185
And on my github at
https://github.com/c-herring/HeZapod
-Chris
Here is a small side project that I have been working on as part of my larger Hexapod project. For my Hexapod I am using Hitec HS-485 servos which have their axis supported by a bearing. So radial loads are well supported and there is very little thrust load to worry about. However there is some torsional load required to support the weight of the body and to keep the legs rigid. Many higher end servos counter this by providing an idle bearing on the opposite side, there are also various brackets available which provide this idle bearing to lower range servos. But why spend $5 on a bracket when you have a 3D printer?
 Desktop 3D printers have come a long way in the past several years. The RepRap community provides open source designs for Fused Deposition Modelling printers. This makes it possible to construct a high quality desktop 3D printer for under $1000
using only a small number of specialized parts (ie. filament extruder components).
3D printers introduce the possibility of fabricating precision parts in a timely and – most important – reliable manner. What would usually take hours to fabricate in the workshop can now be printed, still in a couple of hours, however all that need be done is draw a design in your favorite CAD program and send it off to print.
My love of mechatronics not only attracts me to the 3D printer itself, but the many possibilities for design and prototyping that it opens! For several years I have been building my RepRaps. Or I guess I should say RepStrap. I have been through a couple of Mendel variations which ended up leading me to a custom i3 design. At the end of exam period 2013 however I decided that I would go ahead and pull my existing printer apart and reassemble it into a delta design. So after printing all of the parts and being sure that I could assemble it first try – I went for it. That was a mistake. Several parts were missing and when attempting reassemble my i3 I broke a z-carriage. So now I was left with a broken printer, no spares and no printer to print a spare. Lesson learned – ALWAYS have a full set of spares – especially if you are planning on completely disassembling your printer.
Well, I print everything. So many useless robots that have a lifespan of a week before they are torn apart harvested for their components and a new one is printed. So I may aswell just bite the bullet and spend some money and get a kit, right?
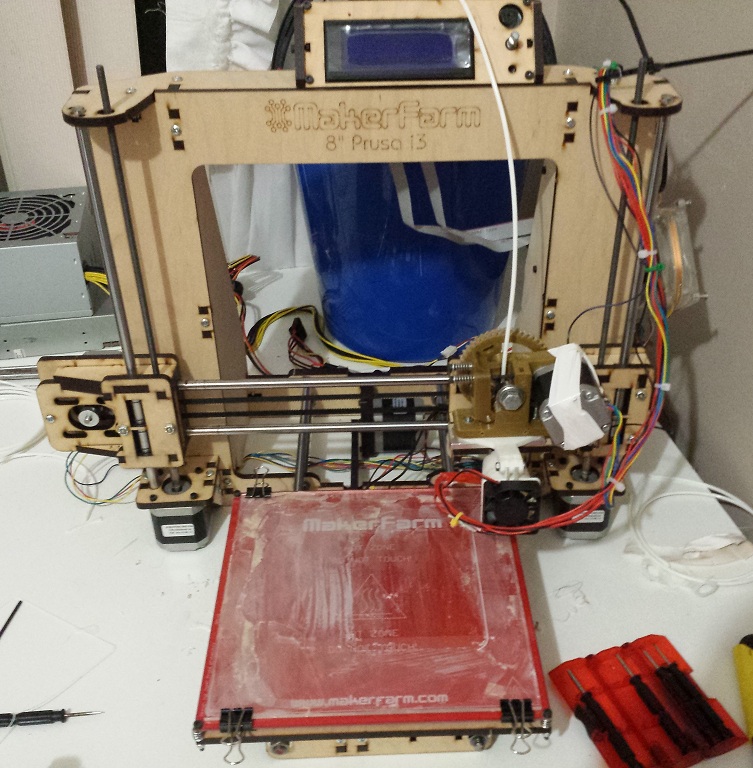
After extensive research into the many RepRap designs and kits out there, I decided on the wood base Prusa i3 from MakerFarm.